Pages

Showing posts with label Freebie Friday. Show all posts

Friday, March 23, 2012

Freebie Friday- Storage Containers

 Here's the short on why I currently don't drink coffee.
During the delivery of both of our daughters, my husband and birthing partner (that sounds cheesy)  had the rigorous and demanding job of staying awake.  When anticipation and adrenaline weren't enough, he relied on good ole' caffeine.  Even though I felt like death, my sniffer was in overdrive, and his coffee breath made me want to barf!!  Now, I can't stomach the stuff.  
All joking aside, Adam was awesome during both births.  I guess he figured he was the reason I was there in the first place, so he stepped up to the plate.  

So, after Munchkin came into the world, I went on a search for a new hot beverage to get me going in the morning.  I tried hot chocolate, hot cider, some mocha thing-a-ma-jig, and a few Keurig concoctions. I finally found this stuff and fell in love...

 
Which leads me to today's freebie... This cute little storage container.
Not only is the cappuccino business awesome but it comes in this awesome container.  It's the perfect size and it's nice and sturdy. 
 
Here's the how-to.  Start by peeling off the label and wiping out the inside with a wet paper towel.  

Next, cut a pretty piece of scrapbook paper to fit through your printer.  Using a blank Word document (turned landscape, not portrait) and a fun font, print your label.  


Cut the paper to fit onto the canister.  Hot glue the paper on.  OOPS!!! My paper ended up a little too short.  No biggie! I'll just employ my favorite craft material...burlap.   

 Hot glue a little slice of burlap over the gap using lots of glue so it won't ravel.

There you have it!  I can't wait to finish some more delish Starbucks-like drinks so that I can whip out some more cute containers.  I'm thinking "rubber-bands" "cords/chargers" and "chalk" for my chalk board calendar.

Thanks for stopping by!  Before you go, be sure to enter to win the first-ever giveaway here at Well Rounded!!  You could win this colorful cross to help you celebrate Easter!

Saturday, February 18, 2012

Freebie Friday- Tea Dyed Dress

 A few weeks ago, I posted some family pictures that my friend Katie took for us.  I thought briefly spent a ridiculous amount of time planning our attire.  I wanted us all to coordinate, you know, look like we belonged together, without looking like we were trying too hard.  

I knew I wanted Munchkin to wear this tea-dyed onesie from a previous Freebie Friday.
So, on to Little Miss' dress, today's freebie. 
Etsy has, what I call t-shirt dresses, all over the place.  It's basically a t-shirt hacked off about half way down and an added skirt.  Simple right?!?
So here's what I did.  I found an old t-shirt from Little M's drawer and  tea-dyed  it.
Then, I added a two layered ruffle skirt. (insert imagination here!) There is no tutorial because I was really winging it.   
I hate to leave you hangin' so if you are interested,  Ashely over at Make It and Love It, has a nice tutorial, and a much more professional product if I must say so!


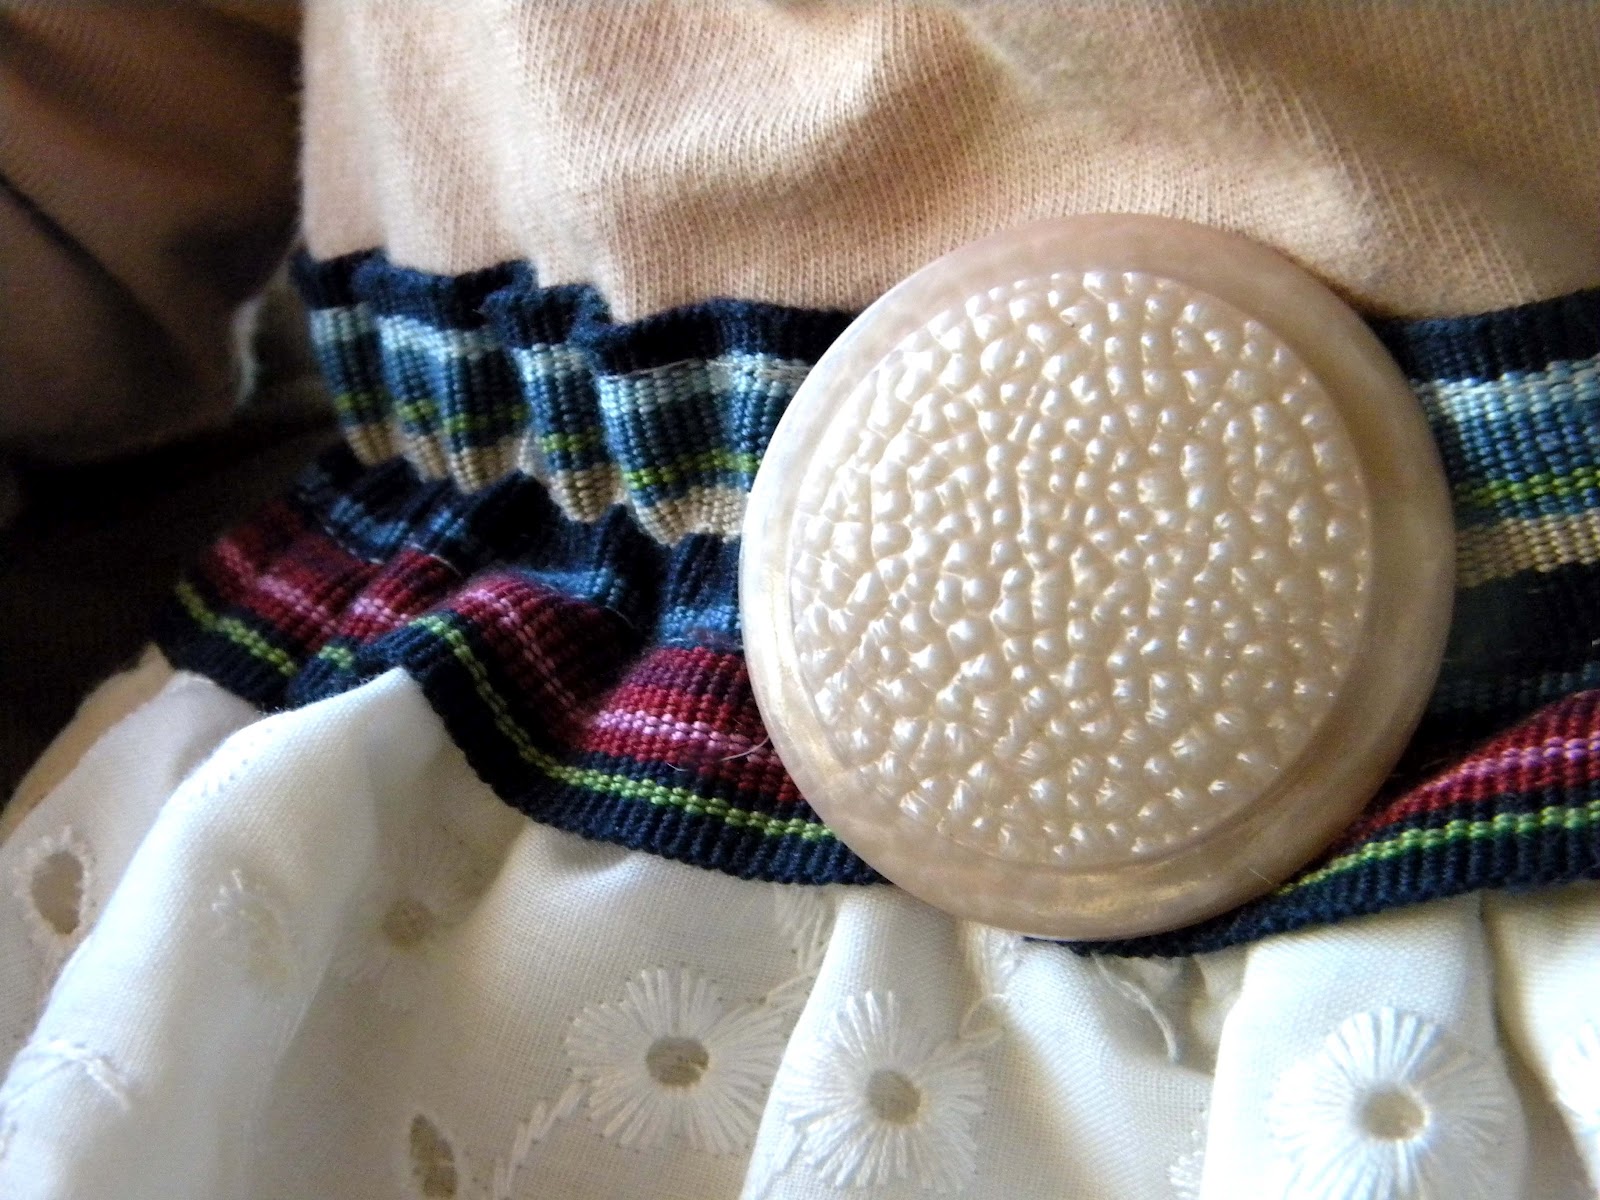
It turned out pretty cute, but a little rough.  The seam where the t-shirt met the skirt was a little frumpy, so I added this snazzy belt that I've been hanging onto for way TOO long.  No kidding, I think it's from Jr. High.  Sick, I know! 
Elastic that I had on hand helped to create more of a waist.  Finally, add a fun button.  Buttons make everything better!
So...
t-shirt from drawer...$0.00
tea from pantry...0.00
white fabrics from "Jamie's Mom" collection...0.00
belt from Jr. High...0.00
button from my stash...0.00
 total... FREE!!!
...and pretty stinkin' cute!
Thanks for stopping by!
Happy weekend!


Friday, February 3, 2012

Freebie Friday- Framed Patterns

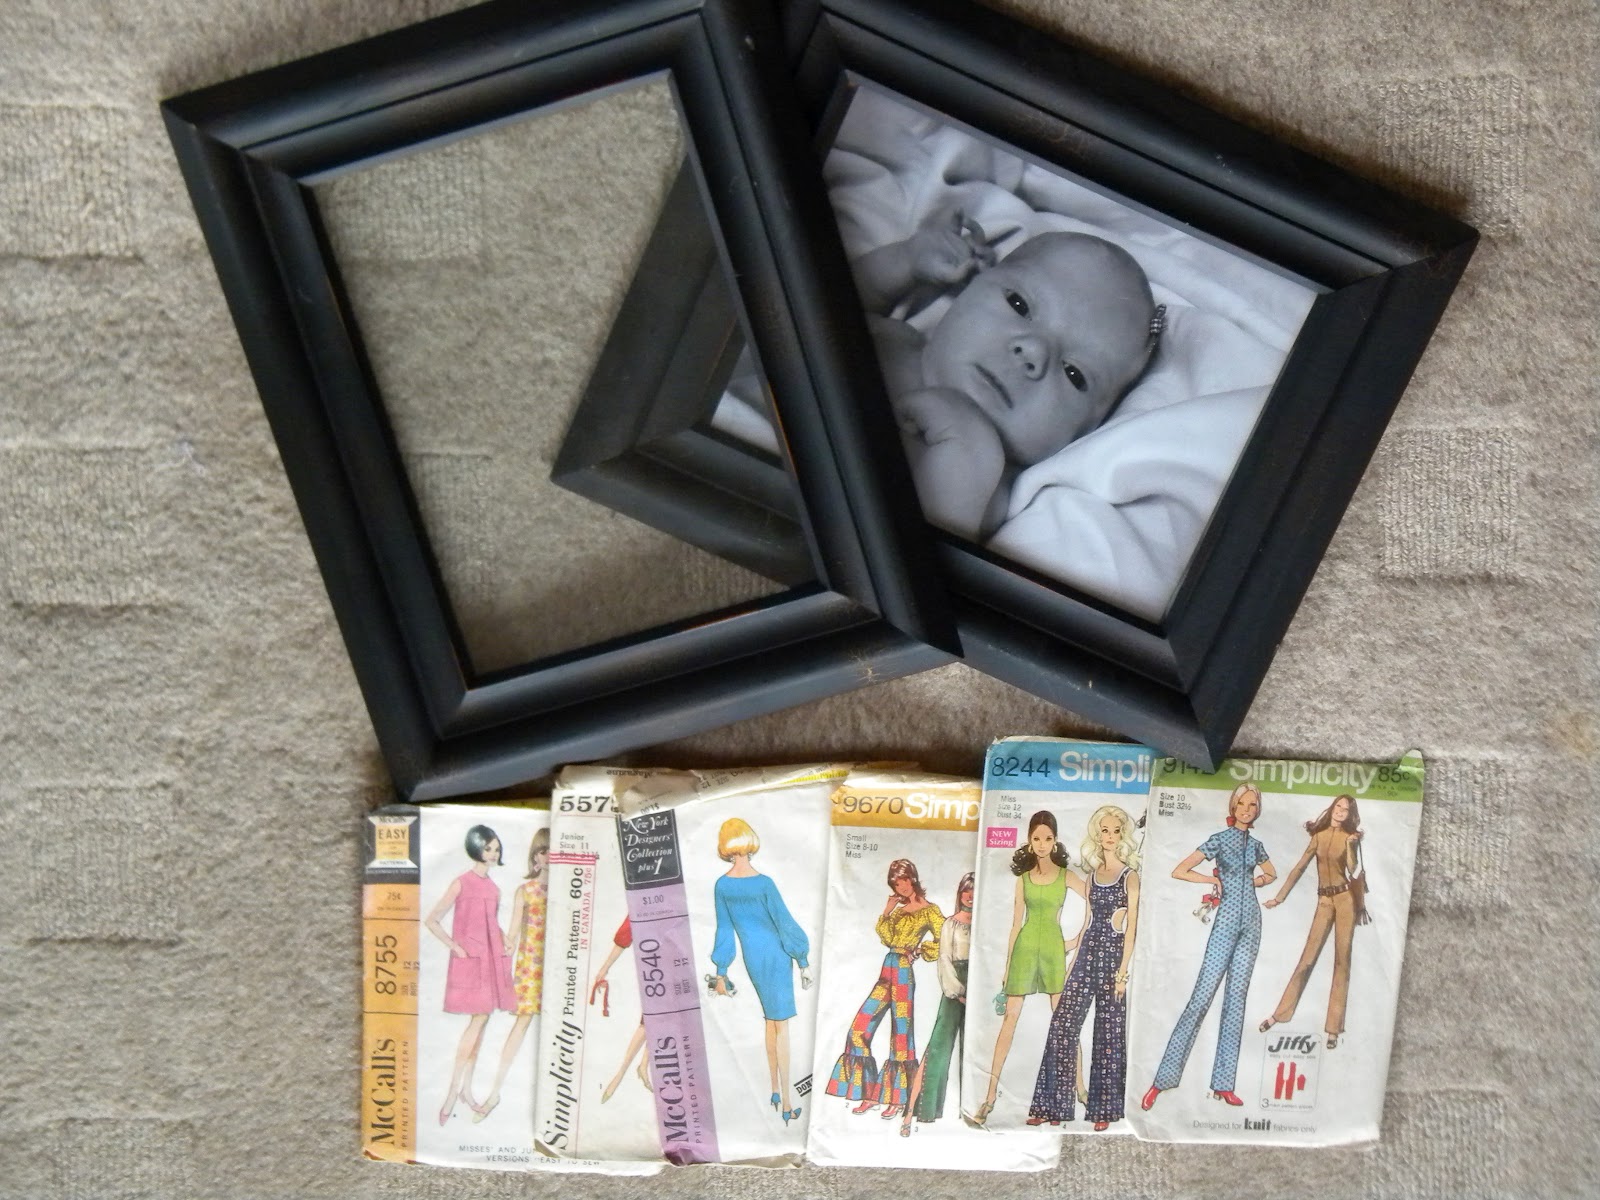
 Today we are framing patterns.  These would be the perfect addition to your craft or laundry room. 

This project is FREE if you have a set of matching frames and a couple of old patterns.
 Start by emptying the pattern pieces from the envelope.  Place the envelope face down in the center of the frame and gently lay the pattern pieces over the top.  Secure the back of the fame and trim off the excess paper. 

 
Hang and done!


 I inherited vintage patterns just like these from (o.k. follow me now...) my brother's girlfriend's mom.  It would be easier to say they came from this woman I know, but the truth is that I never had the privilege of meeting her.  Jamie's Mom, Robin, lost her battle with ovarian cancer two years ago.

I've sorted through the heaps and saved some of my favorites, but there are still SO many, so... I want to share them.  I've decided sell them in my Etsy store.  All the proceeds will be donated to the Ovarian Cancer National Alliance in Robin's honor.
 
Thanks for stopping by!

Monday, January 23, 2012

Cafe Latte Turtle Cake

Cafe Latte Turtle Cake
  
I know it isn't gorgeous.  In fact, it's kind of a hot mess, but who cares!
It is delicious!!  It's the perfect combo of chocolate and caramel, with a hint of coffee, and a pecan that pops in at just the moment.  Very moist!!
Here's the recipe, from Midwest Living, with a few small tweaks of my own...

You need...
unsweetened cocoa powder
1 egg, lightly beaten
1 cup buttermilk 
2/3 cup vegetable oil
2 cups all-purpose flour
1 3/4 cup sugar
1/2 cup unsweetened cocoa powder
1 tablespoon baking soda
1 teaspoon salt
1 cup freshly brewed hot coffee
chocolate frosting (recipe to follow)
1 1/2 cups pecan halves, toasted
1/2 cup caramel ice cream topping

1. Three, greased 9-inch cake pans.  Dust with unsweetened cocoa powder.  Set prepared pans aside.  
2.  In a small bowl, stir together egg, buttermilk, and vegetable oil: set aside.  In a large mixing bowl, stir together flour, sugar, 1/2 cup unsweetened cocoa powder, baking soda and salt.  Gradually add the liquid mixture to the flour mixture, beating with an electric mixer until combined.  Gradually beat in the hot coffee.  Pour batter into prepared pans.  (Layers will appear shallow.)
3.  Bake at 350 degrees for 20 minutes, or until toothpick comes out clean.  Let them cool.  Loosen edges and then remove.  Finish cooling.  
4.  When cakes are cool, make the chocolate frosting (recipe below).
Place one cake layer top side down onto a serving plate WITH A LIP to catch the excess toppings.  Frost first layer with 1/3 of the icing.  Cover with 1/3 of the pecans.  Top with 1/3 of the caramel.  Add next cake, upside down, and repeat.  Place final cake right side up and finish with remaining frosting, pecans, and caramel.  Chill cake 1-2 hours before serving.  

Chocolate Frosting
In a medium saucepan, stir together 1 cup sugar and 1/2 cup milk.  Add 6 tablespoons butter.  Bring the mixture to a boil, stirring constantly.  Remove from heat.  Add one 12 oz. package semisweet chocolate chips.  Using a wire whisk, mix in the chocolate until smooth. 

ENJOY!!

Thursday, January 12, 2012

Freebie Friday-Bridesmaid Dress

I thought that this freebie was expired because it came from this past October, but yesterday Little Miss found this old Halloween costume while she was playing dress-up, so I guess it's fresh enough. 
She went as Little Bow Peep and her little frock is today's featured freebie!
In its former life it was a fancy bridesmaids dress. 
 Kris and her hubby are getting ready to celebrate their 4th anniversary! Congratulations guys!

After Kristin's big day, it moved on to its job as a dust collector in the back of the closet.  I couldn't stand the thought of giving it away.  I loved it too much.  So instead, I cut it up.  Makes perfect sense right!?!
I used some leftover fabric to add a little white apron and some detail to the front.
  The tulle from the original dress was used to give Little Bo Peep a nice full skirt.  It's kind of a hodge-podge job, so no tutorial here, only inspiration!

Grandma loaned us a bonnet. The only thing she was missing was a sheep so... 
  
 My newest little Munchkin volunteered.
I have so many old formals and bridesmaids dresses left, my girls are going to have a dress-up wardrobe to die for!  What do you do with your old dresses?