
This one is for all the momma's boys out there.

Today we are making this tattoo bib.
You will need iron-on transfer paper, light weight black and white cotton fabric, heavy terry cloth fabric, and basic sewing materials.

First, print off your tattoo image using the iron-on transfer paper. Remember that your image will be flipped after it is ironed on. "Mom" will look the same, but if you are picky about the way the scroll crosses the heart, I'd flip it before you print. Also, make sure you have the right type of transfer paper for your printer. Laser jet paper doesn't work well with an ink jet printer...This is experience speaking!

Cut out the tattoo. Follow the instructions provided with the transfer paper to iron the tattoo onto the light weight white fabric. After it cools, peel off the paper. Using a pinking shears, cut out the tattoo, leaving 1/4" of white fabric around the tattoo transfer.
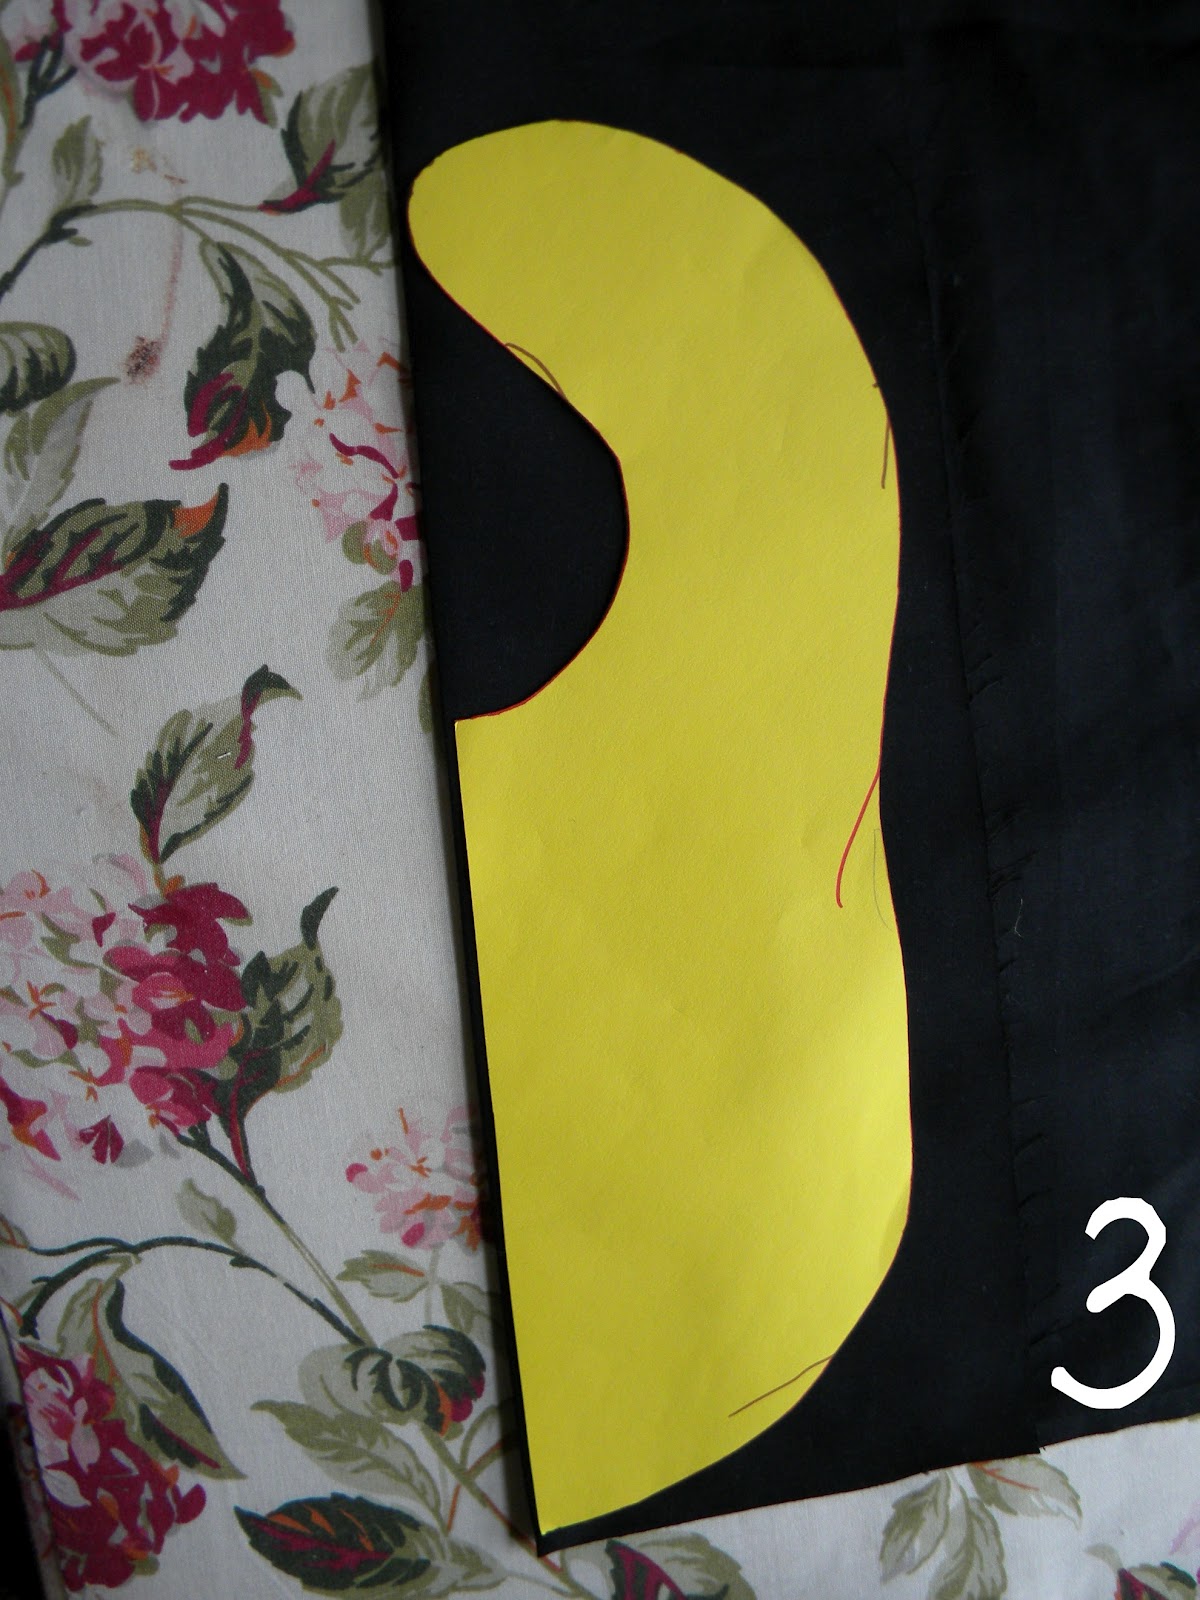
I created my own bib pattern by tracing one of my favorite bibs on a 12x12" sheet of paper. By using half of the bib for my pattern and cutting the fabric on a fold, you create a more symmetrical bib and reduce the amount of cutting you have to do.

Following the pattern, cut your bib out of the terry cloth and black fabric. Bath towels make a nice backing for bibs. It is thicker and much more absorbent than terry cloth that you purchase by the yard.
Now that we have all the pieces cut out it's time to assemble the bib. Center the tattoo on the black bib and pin it in place. Sew down with a small zigzag stitch.

Pin the right sides of the black and the terry cloth bibs together.

Before sewing the front to the back, the velcro has to be sewn on. Sew one piece of velcro to the right side of the terrycloth and the other piece of velco to the opposite right side of the black bib. (By right, I mean the correct side, the side that will face out when the bib is finished.)

Sew the two bibs together, leaving a hole at the bottom wide enough to turn the bib right side out.

Before turning the bib right side out, put several snips in the curve along the neck. Be sure not to cut into the seam. This will allow the curve to lay nicely when it's finished.

After turning the bib right side out there will be a lip of fabric sticking out of the hole. Fold the excess fabric in and iron flat. Continue ironing around the perimeter of the bib. Don't iron the tattoo or the velcro...again, experience speaking.

Finish with a top stitch in matching thread.

Done! Easy peasy! Don't you love it?? I do!
Want one without the work...just click here!

Thanks for stopping by!
Super adorable.. I LOVE this.. So creative.. Hi Leah, I'm Marilyn and stumbled upon your blog and LOVE it.. I am officially your happiest new follower here and hope you can give us a visit sometime.. http://www.theartsygirlconnection.com .. Off to indulge in more of your posts.. I look forward to shared future inspirations here.. :)) Wishing you a perfect week.. ~Marilyn
ReplyDeleteAwesome! My youngest boy doesn't wear bibs anymore, but I think I may place this image on a "big boy" tee-shirt! Thanks for sharing!
ReplyDeleteToo cute! Great Job!!
ReplyDeletexoxo
twentyfour7
Susan